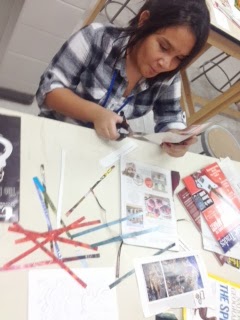
We have finally started out stencil cutting! Students are following the steps from my you-tube video Monopriting: creating a stencil.
Step 1:Tape down the image and tape down the velum on top of the image.
Step 2: Trace the outside (contour) of the image on the dull side of the velum
Step 3: Remove tape and image from under the velum
Step 4: Cut out image with an x-acto knife leaving a positive and a negative stencil
Students need 5-7 stencils cut out for PRINTING DAY!
.JPG)
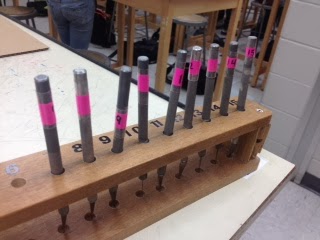
Materials:
Pencil
Scissors
X-acto
Printed Images
Velum (Stencil Paper)
.JPG)


.JPG)
.JPG)
.JPG)